- Home
- Company
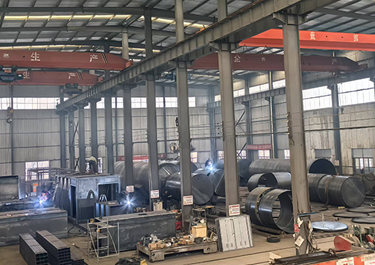 Our FactoryWe have a team of over 30 talented mobile fuel station R&D experts, as well as a 50,000-square-meter advanced modern intelligent manufacturing plant.
 - Mobile Fuel Station
- Storage Tank
- Blog
- Contacts
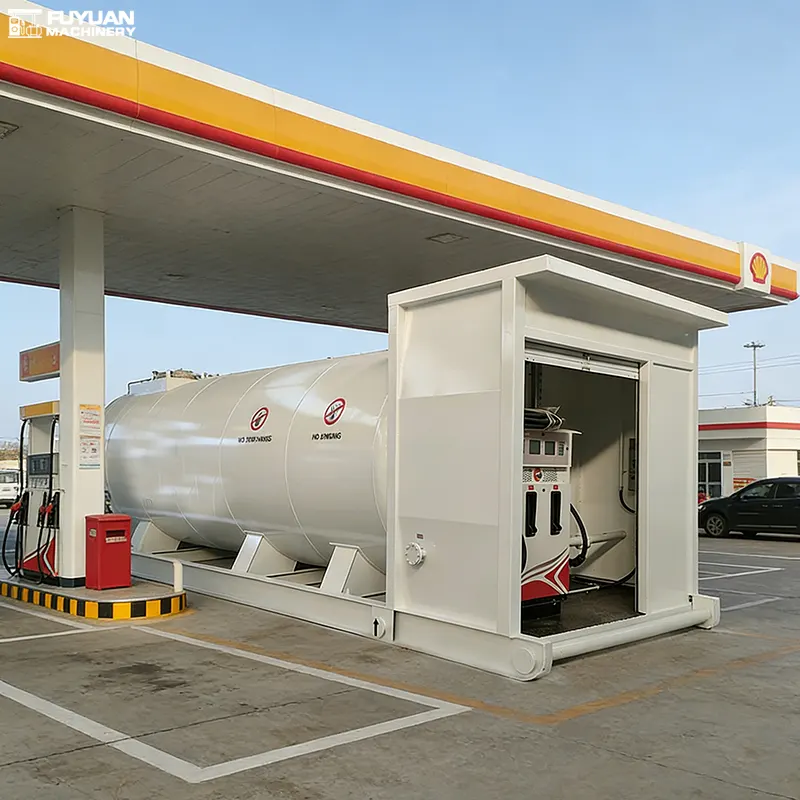
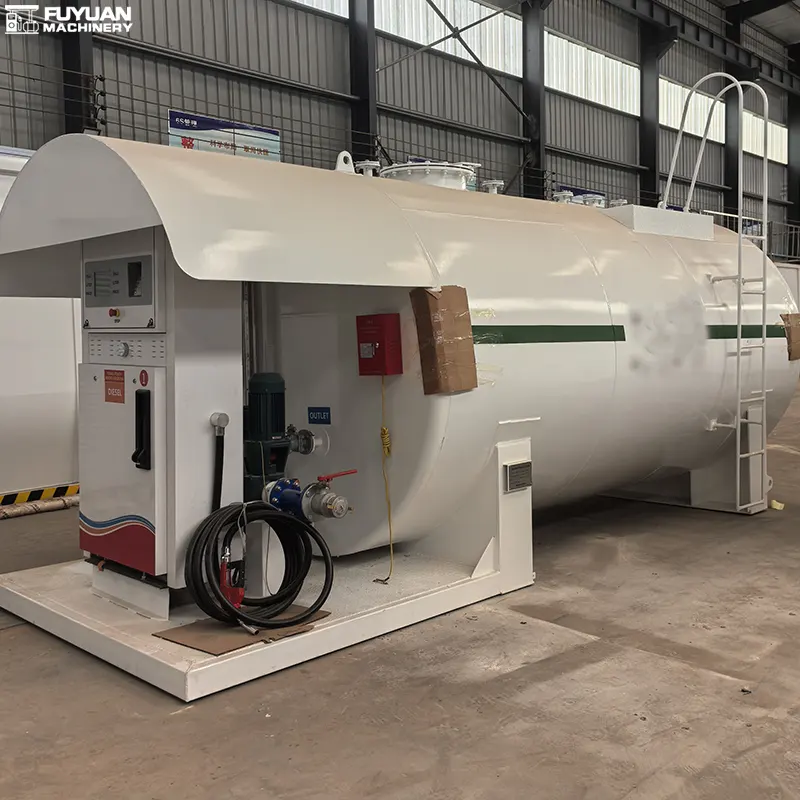
Mobile Fuel Stations: Top 5 Steps to Install & Commission in 2026
A mobile fuel station arriving on site is not the finish line—it is the starting gun. What happens in the next 48 to 72 hours determines whether your station operates safely for the next 15 years or becomes a compliance nightmare that shuts down your project.
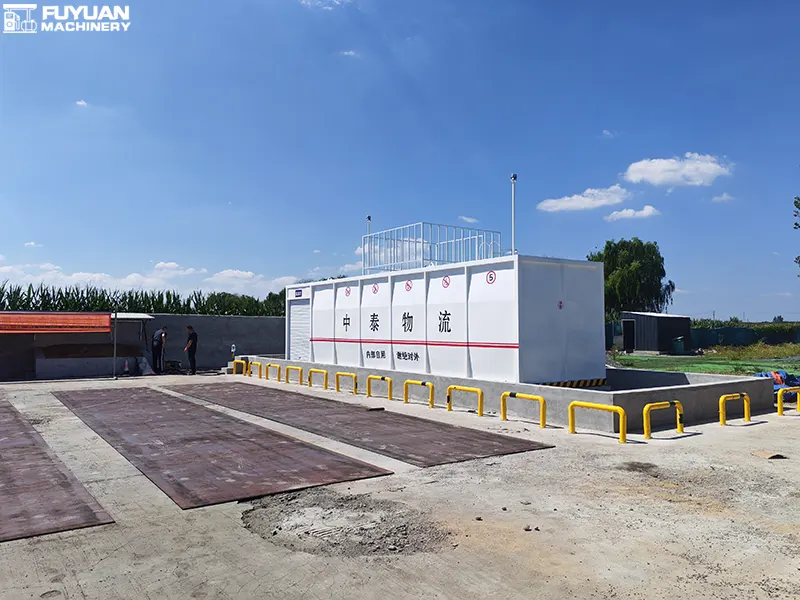
The good news: installation and commissioning of a modern mobile fuel station takes 1 to 3 working days, with no civil works or permanent foundations required. A traditional fixed fuel station, by contrast, requires 4–8 weeks for design and planning, plus 6–12 months for construction.
The bad news: most deployment failures do not happen because the equipment is defective. They happen because the installation and commissioning process was rushed, skipped, or performed by personnel who did not follow the correct sequence.
Here are the top 5 steps to install and commission mobile fuel stations in 2026—drawn from real-world deployment experience across mining, construction, and remote industrial sites.
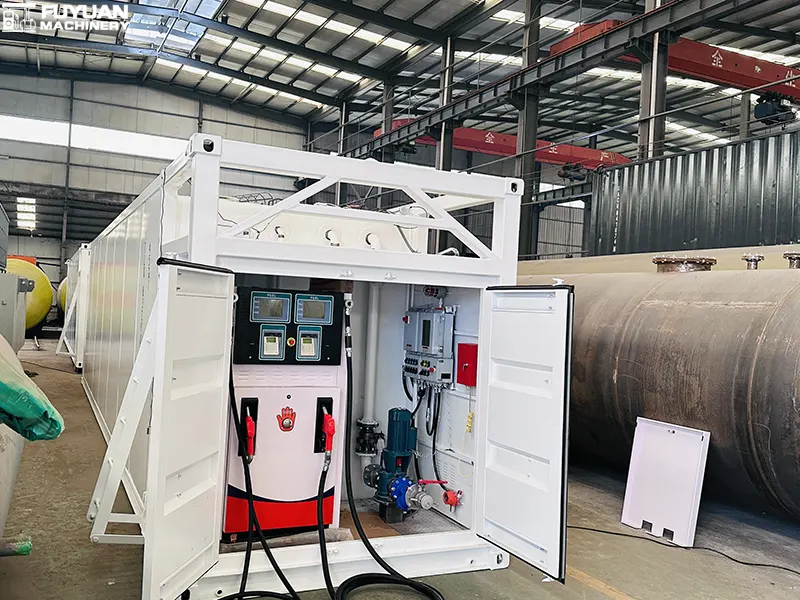
Step 1: Site Preparation and Foundation Setup
Installation begins long before the equipment arrives. Site preparation is the foundation—literally—of a successful deployment.
What to do:
Select a flat, stable surface. The site must be level and capable of bearing the full weight of the station plus its fuel load. For a 30,000L containerized unit, that means supporting approximately 30 tonnes of combined equipment and fuel weight. Uneven or unstable ground creates tipping risk, equipment stress, and potential leakage.
Verify soil bearing capacity. For larger units, a geotechnical assessment may be required. If soil conditions are marginal, a reinforced concrete pad—typically 150–200mm thick—provides the necessary stability.
Confirm access for delivery and fueling vehicles. The route to the site must accommodate the delivery truck, crane, or forklift required to position the unit. Turning radius and overhead clearance must be verified in advance.
Establish separation distances. Maintain safe distances from ignition sources, buildings, and sensitive areas:
| Hazard | Minimum Distance |
|---|---|
| Open flames or hot-work areas | 25–30 m |
| General buildings and warehouses | 15 m |
| Roads and highways | 8 m |
| Overhead high-voltage lines | At least one pole height + 15 m horizontally |
| Water sources, rivers, or wells | 100 m |
Prepare utility connections. Most mobile fuel stations require a 380V/50Hz or 480V/60Hz power supply. Confirm the voltage, phase sequence, and available capacity before the unit arrives.
Pro Tip: Check local zoning and permitting requirements before the unit leaves the factory. Some jurisdictions require pre-approval of the site layout, and retrofitting compliance after installation can add weeks of delay.
Common mistake to avoid: Pouring a concrete pad too late. If the pad is still curing when the equipment arrives, you lose 3–7 days waiting for it to reach sufficient strength.
Step 2: Equipment Inspection and Positioning
Once the site is ready and the unit has arrived, the next step is inspection and positioning. This is where quality control begins.
Pre-positioning inspection checklist:
Before the crane or forklift lifts the unit, perform a thorough visual inspection:
- Exterior condition – Check for rust, corrosion, dents, or damage incurred during transport
- Tank interior – Inspect for water accumulation, rust, or debris; clean before use if necessary
- Valve operation – Verify all valve switches operate freely; replace any that are stuck or severely rusted
- Sealing gaskets – Check for corrosion or deterioration; replace rubber gaskets if the unit has been stored for over 2 years
- Electrical wiring – Inspect all wires for cracks or aging; verify power supply voltage and phase sequence
- Liquid level probe – Confirm the float moves freely and is not broken or stuck
- Breathing valve – Check that it is not blocked
- Fire extinguisher – Verify it is within its validity period and has normal pressure
Positioning the unit:
- Use a certified crane or forklift with adequate lifting capacity. Do not attempt to drag or roll the unit into position
- Prevent collisions between tools/equipment and the tank or hardened ground that could produce sparks
- Maintain level orientation during lifting and placement
- Verify final positioning —the unit should be level within ±1° to ensure proper fuel flow and gauge accuracy
Pro Tip: Photograph every stage of the positioning process. These images serve as documentation for insurance, compliance, and warranty purposes.
Common mistake to avoid: Lifting the unit by non-designated lifting points. This can deform the frame, damage internal piping, and void the warranty.
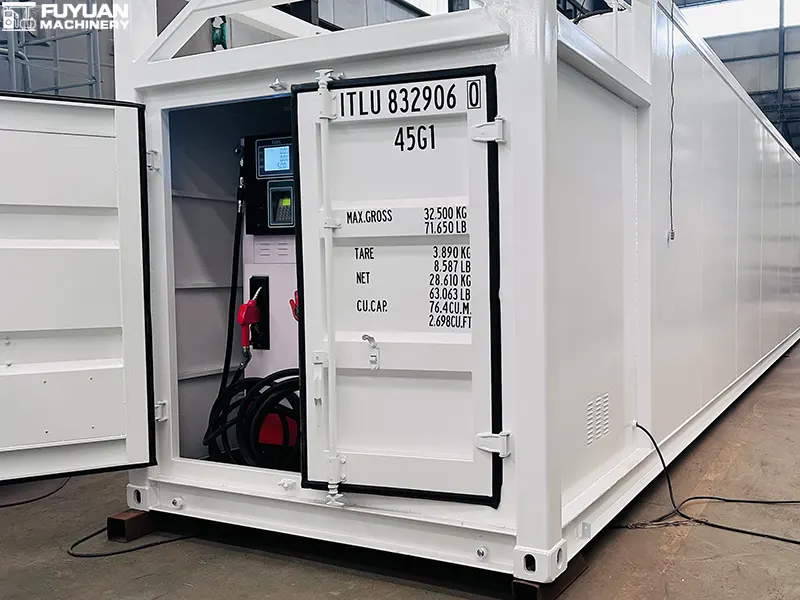
Step 3: Mechanical and Electrical Installation
With the unit in position, the mechanical and electrical connections must be completed. This is the most technically demanding step—and the one where shortcuts create the longest-lasting problems.
Mechanical installation:
- Connect fuel piping – Ensure all connections are tight and leak-free. Use approved thread sealant compatible with the fuel type
- Install the dispensing system – Mount the fuel dispenser, connect hoses and nozzles, and verify proper alignment
- Connect the venting system – Ensure the breathing valve is correctly oriented and unobstructed
- Install secondary containment – If not integrated, connect any external bunding or containment systems
- Verify grounding – Install grounding cables for static discharge protection
Electrical installation:
- Connect the power supply – Verify voltage (380V/50Hz or 480V/60Hz), phase sequence, and circuit protection
- Use explosion-proof equipment only – All electrical components in the fuel dispensing area must carry Class I, Div 1 or ATEX Zone 0/1 explosion protection ratings
- Install explosion-proof switches – The distribution box must include an explosion-proof switch
- Mount emergency shut-off devices – At least one emergency shutoff device must be within 20–100 feet of each dispenser
- Install combustible gas detection – Audible and visual alarms for the refueling area
- Ground all electrical equipment – Every motor, panel, and control box must be properly grounded
Critical safety requirements during installation:
| Requirement | Why It Matters |
|---|---|
| No non-explosion-proof equipment | A single uncertified component can invalidate the entire system |
| No aging or undersized power cords | Fire and electrical shock hazard |
| Explosion-proof switch in distribution box | Prevents ignition during operation |
| Personnel with anti-static clothing | Prevents static discharge in hazardous zones |
Pro Tip: During installation, prevent construction electrical equipment from being placed upwind of the tank or within an unsafe distance. Wind direction can carry sparks or vapors toward the fuel storage area.
Common mistake to avoid: Using non-copper tools around the tank opening. Friction between ferrous tools can produce sparks—a catastrophic risk in a fuel environment.
Step 4: Pre-Commissioning Testing and Safety Verification
Commissioning is not simply turning the station on. It is a systematic verification that every system—mechanical, electrical, and safety—performs exactly as designed.
Pre-commissioning test checklist:
Mechanical systems:
- Test all pumps – Submersible oil pump, unloading pump, and dispenser pump. Verify flow rate and pressure
- Verify piping integrity – Perform a leak test on all connections and joints
- Check valve operation – Test all isolation valves, check valves, and emergency shut-off valves
- Verify dispenser calibration – Confirm measurement accuracy within ±0.5% (or ±0.2% for high-accuracy builds)
- Test the float level gauge – Confirm the liquid level probe moves freely and readings are accurate
Electrical systems:
- Verify power supply – Confirm voltage, phase sequence, and circuit breaker operation
- Test emergency shut-off – Physically actuate each emergency shutoff device to confirm it stops all dispensing
- Test combustible gas alarm – Introduce a test gas to verify the alarm triggers correctly
- Verify grounding continuity – Measure resistance across the grounding system; it should be less than 10 ohms
Safety systems:
- Verify fire extinguisher – Confirm it is mounted, accessible, and within its validity period
- Check spill kit – Confirm it is stocked, accessible, and meets the minimum 5-gallon requirement (per NFPA 30A)
- Test leak detection – If integrated, verify the system detects and alarms on simulated leaks
- Confirm emergency lighting – Test any integrated emergency lighting systems
Pro Tip: Record every test result in a commissioning log. This documentation is required for regulatory approval and serves as a baseline for future maintenance.
Common mistake to avoid: Testing only the primary pump and declaring commissioning complete. Every component—from the nozzle to the emergency shutoff—must be independently verified.
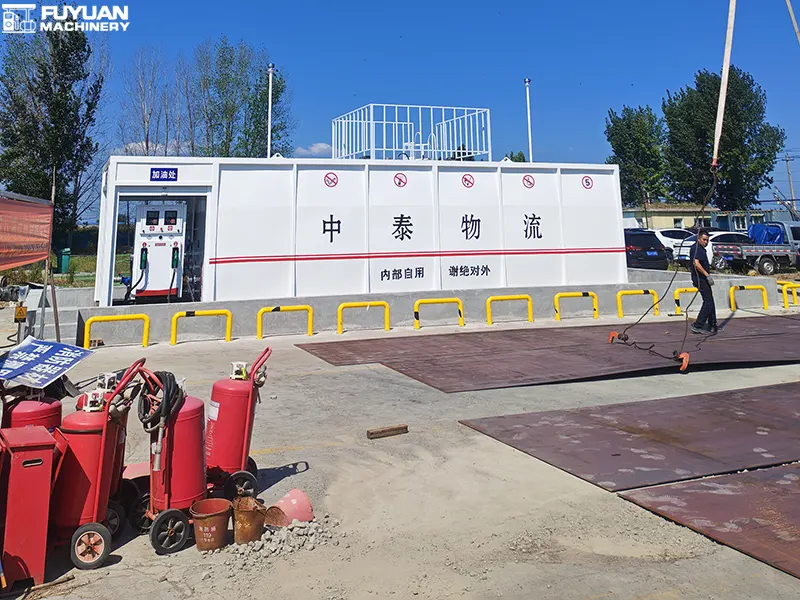
Step 5: Final Compliance Check and Handover
The final step is not a formality—it is the difference between a station that operates legally and one that faces fines, shutdown orders, or forced removal.
Compliance verification:
- Confirm all certifications are documented – NFPA 30A (if applicable), UL 142, ATEX/IECEx, CE, EN 12285-2, OIML R 117, IEC 60079
- Verify permits are in place – Fire department approval, environmental permits, zoning clearance
- Complete inspection documentation – Third-party inspection reports from recognized organizations (SGS, Bureau Veritas, TÜV)
- Prepare operation and maintenance manual – Ensure it is on-site and accessible to operators
Operator training and handover:
- Train personnel on daily operation – Start-up, dispensing, shutdown, and emergency procedures
- Train personnel on fuel management systems – RFID/PIN access control, transaction logging, remote monitoring
- Cover emergency procedures – Fire response, spill containment, emergency shutdown, evacuation
- Review maintenance schedule – Daily, weekly, monthly, and annual maintenance requirements
- Provide spare parts inventory – Filters, gaskets, seals, and critical components
Handover documentation package should include:
| Document | Purpose |
|---|---|
| Commissioning log | Record of all tests and results |
| Certification copies | Proof of compliance for regulators |
| Operation manual | Daily operating procedures |
| Maintenance schedule | Planned maintenance intervals |
| Emergency procedures | Response protocols for incidents |
| Warranty documentation | Coverage terms and contact information |
Pro Tip: Conduct a joint walkthrough with the installation team, the operator, and a third-party inspector (if available). This ensures no critical item is overlooked and creates a shared record of the final condition.
Common mistake to avoid: Skipping operator training because “the manual covers it.” A well-trained operator prevents more problems than any piece of safety equipment.
Summary: The 5 Steps at a Glance
| Step | Key Actions | Timeline |
|---|---|---|
| 1. Site Preparation | Flat surface, soil verification, separation distances, utility connections | 1–2 days before arrival |
| 2. Inspection & Positioning | Exterior/interior inspection, valve check, crane positioning | 2–4 hours |
| 3. Mechanical & Electrical | Piping, dispensing system, explosion-proof wiring, grounding | 4–8 hours |
| 4. Pre-Commissioning Testing | Pump test, leak test, calibration, emergency shutdown, gas alarm | 4–6 hours |
| 5. Compliance & Handover | Certification check, permits, operator training, documentation | 2–4 hours |
| Total | 1–3 working days |
Conclusion
Installing and commissioning a mobile fuel station is not complicated—but it is unforgiving of shortcuts. The five steps outlined here are not suggestions; they are the sequence that separates a safe, compliant, and long-lasting installation from one that fails inspection, endangers personnel, or shuts down your operation.
The mobile fuel station market is growing at 13.94% CAGR through 2032, with thousands of new units deployed annually across mining, construction, logistics, and remote industrial sites. As adoption accelerates, the difference between a well-commissioned station and a poorly-commissioned one will become increasingly visible—in uptime, in safety records, and in total cost of ownership.
Follow the five steps. Document everything. Train your operators. And choose a supplier who supports you through the entire deployment process—not just the sale.
Looking for a mobile fuel station with full installation and commissioning support?
Fuyuan Machinery manufactures containerized and skid-mounted fuel stations certified to UL, ATEX, IECEx, CE, ASME, and NFPA standards—and provides comprehensive deployment guidance for every unit.
Contact us today for a customized solution tailored to your project requirements.
Written by
TAI'AN FUYUAN MACHINERY EQUIPMENT CO., LTD.
Editor Yuan
www.mobile-fuel-stations.com
WhatsApp:+86 182 6667 0999
Email:yuanyuzhu6@gmail.com

Leading Chinese Manufacturer & Exporter of mobile fuel stations and skid-mounted fuel stations.